GoBrunch allows you to customize your preferences for each room that you create.
How to access your Room Settings
1. Join your room. You can see the list of all your Spaces here.
2. Take a seat
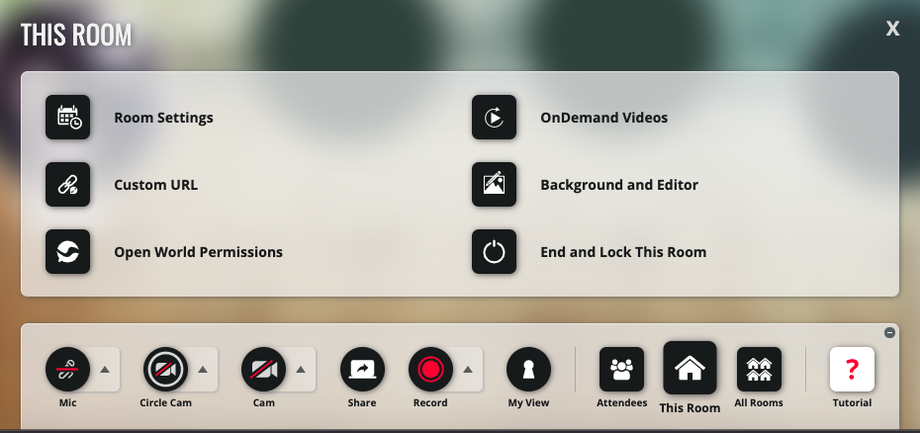
3. Click on This Room
4. Click on Room Settings, which is the first option.
This will allow you to change your Room Preferences and we will provde more details below.
How to change your Room Presets
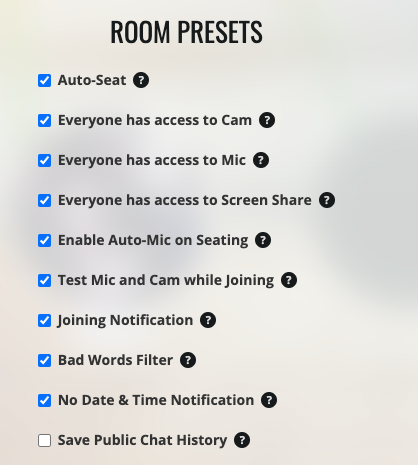
After you opened the Room settings options, you'll see this set of controls. It's very handy to personalize your preferences and this should be
Here you can find the description of each one of them.
Participants can Turn On Their Mics: The icon of the Mic will be available for all participants to be be able to turn it on.
Participants can Turn On Their Circle-Cams: The icon of the Cam will be available for all participants to be be able to turn it on.
Participants can Share Their Screens: The icon of the Screen Share will be available for all participants to be be able to turn it on.
Participants will Auto-Seat After Joining: They don't need to click on a circle to seat, since this will be done automatically.
Participants' Mics will be Turned On Automatically After Joining: The Participants will receive a request for turning on their mics automatically once they join.
Test Mic and Cam While Joining: GoBrunch will automatically test the participants' mics and cams before taking a seat. If they are not detected, we'll show a popup with instructions.
Joining Notification: You will hear a sound every time someone joins your room. In addition, the name of the person will show up in the chat box.
Bad Words Filter – A predefined collection of inappropriate words will be filtered out, preventing them from being sent in chat messages.
No Date & Time Notification – When enabled, participants will not see a notification showing the event’s start time when they join.
Save Chat History – If enabled, the chat will remain visible to anyone who joins the room even after the session ends. Every attendee will be able to read the chat log. Organizers can delete the chat at any time.
Flip the Cameras – If enabled, all cameras in the room will be flipped once they are turned on.
Disable GIFs – If enabled, no one, including organizers and moderators, will be able to use or send GIFs.
Note that Presenter Cams, Screen Share, Bad Words Filter, Save Public Chat History, Flip the Cameras and Disable Gifs will only take effect for new people who join your room, after you have updated it.
How to change the Name of your room
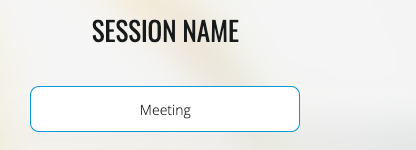
Here you can change the name of the room.
How to change the Date and Time of the Room
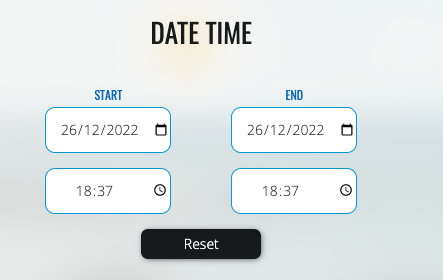
You can set the start and end date of your session. If the date is in the future, your attendees will see a popup once they join. In addition, if you have chosen to collect registration at the moment you created your Space, the date and time will be displayed at the landing page as shown in this example.
Keep in mind that even if the date has passed, everyone will still be able to join. If you want to prevent it, you can lock your room.
How to create a Secret Key for your Space
You can create a Secret Key for each of your rooms.
Keep in mind that you can change the secret from time to time. You can learn more about how to setup a Secret Key for your rooms here.
How to change Your Display Layout.
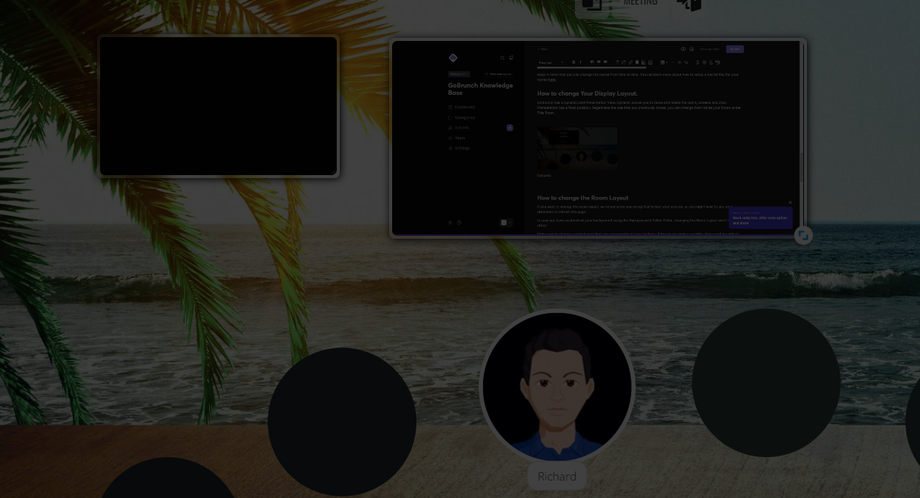
GoBrunch has a Dynamic and Presentation View. Dynamic allows you to move and resize the cams, screens and chat. Prensetation has a fixed position. Regardless the one that you previously chose, you can change from inside your Room under This Room.
Dynamic Mode
In Dynamic view, you can move and resize your cameras, screens and chat.
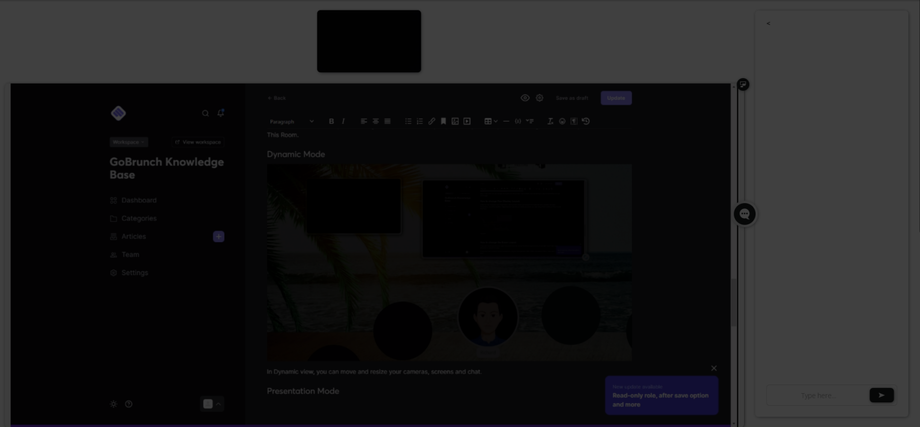
Presentation Mode
In Presentation view, the chat is fixed at the right side, the screen share at the center and the Presenter Cameras at the top. If you scroll down you can see your virtual room.
How to Switch your View
- Join your room. You can see the list of all your Spaces here.
- Take a seat
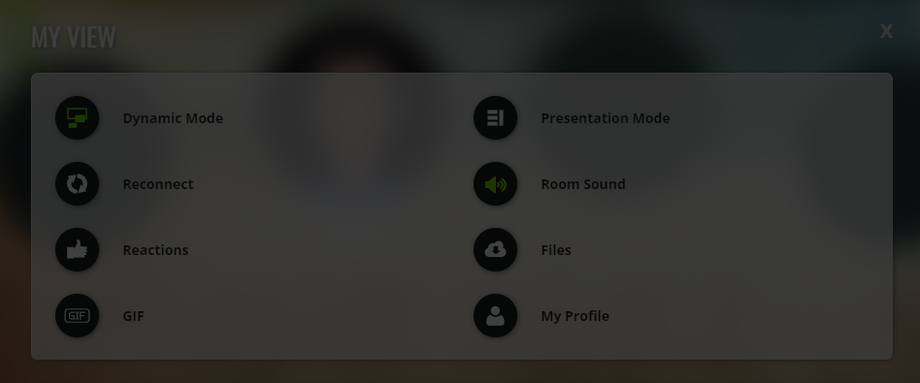
- Click on My View
- Click on Dynamic or Presentation
- The active view will be displayed in green
How to Change for all Attendees to See in Presentation or Dynamic as Default
- Join your room. You can see the list of all your Spaces here.
- Take a seat
- Click on This Room
- Click on Room Settings
- Switch to the desirable view
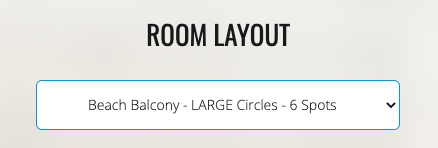
How to change the Room Layout
If you want to change the room layout, we recommend you doing that before your session, or you might have to ask your attendees to refresh the page.
In case you have customized your background using the Background & Editor Editor, changing the Room Layout won't take effect.
Make sure to choose a room layout that can accomodate all your invitees. If there's no circles avaialble, they won't be able to seat and therefore not be able to hear or interact with anyone.
How to change different Rooms from the Same Space
If you have multiple Rooms inside your Space, you don't need to join them to update their settings.
1. Click on All Rooms
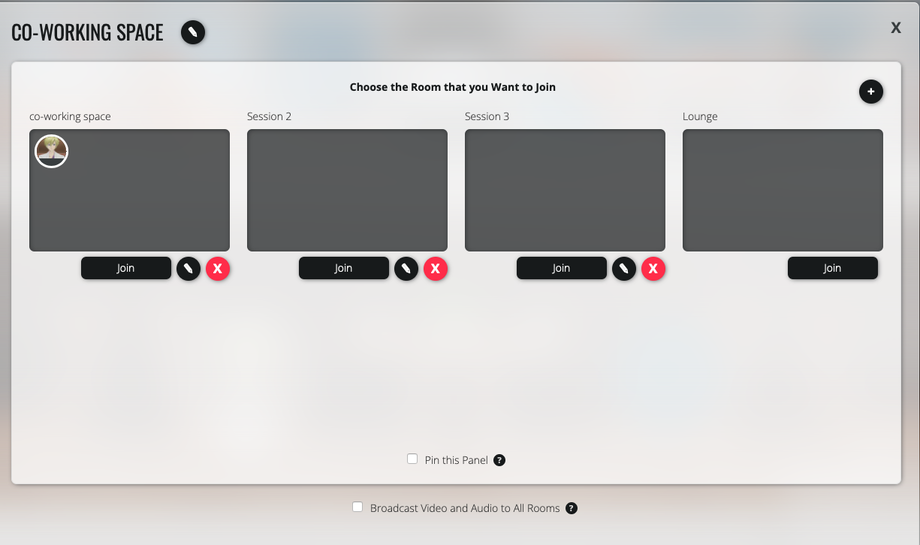
2. You'll see your Space Panel, containing all your Rooms.
3. Click on the Pencil icon
This will open the same menu as clicking on This Room > Room settings.


